
Private Photography Tutoring in Bali
Photography Tutoring in Bali: The Light Sets the Hour
Photography tutoring in Bali from Edupola pairs one tutor with one learner on location. Most programmes schedule around people and this one schedules around the sun. Each of the 5 usable hours of the day teaches something different, and the hour is chosen for the lesson. Fees from IDR 174,100 per 60-minute session.

Rating and fees for photography tutoring in Bali
| Programme | Photography Tutoring in Bali |
|---|---|
| Provider | Edupola |
| Description | Private photography tutoring in Bali, one tutor per learner. Sessions are scheduled by the light: exposure, composition, reading and adding light, then selecting and processing. |
| Fee | From Rp174,100 per session |
| Session Length | 60, 90, or 120 minutes per session |
| Schedule | Flexible, including the golden hour outdoors |
| Rating | 4.9 out of 5, based on 137 reviews |
Programme at a Glance
Photography Tutoring in Bali Scheduled Around the Sun
Photography tutoring in Bali runs one tutor with one learner, at your home, your workplace, or over a screen. One thing makes the scheduling unusual. The subject of the lesson is light, and light is not available on request, so the hour is chosen for what it can teach and not for what is convenient.
A session at seven in the morning and a session at noon are different lessons with the same equipment. Early light is soft and low and forgiving; midday light is hard, overhead, and unflattering, which is exactly why learning to work in it is useful. Evening gives an hour of warm light and then takes it away in minutes.
So the programme works through the hours of the day deliberately, with indoor work available whenever the weather closes in. The material covers leaving automatic mode, composition, reading and adding light, then selecting and processing. Fees start from IDR 174,100 per 60-minute session, with 4 to 28 sessions a month. This programme holds a 4.9 out of 5 rating across 137 learner reviews in Bali.
The Hours
Five Session Hours and the Lesson Each One Carries
Sessions in photography tutoring in Bali are placed in one of these five windows, and the choice is made from what the learner needs next.
-
Morning, Before Eight
Low soft light from one side, which shows shape without harsh shadows. This is where portraits and texture are taught, and it is the most forgiving hour for a learner still thinking about settings.
-
Towards Midday
Hard light from overhead, with short dark shadows under everything. Unfashionable and worth practising, because events and ceremonies happen at this hour whether the light suits them or not.
-
Afternoon, the Hour Before Sunset
Warm light at a low angle, the hour most learners arrive wanting. The lesson is working quickly, since the light changes measurably every few minutes and a slow photographer loses it.
-
Dusk and Afterwards
Falling light that forces real decisions about noise, shutter speed, and support. This is where a tripod stops being optional and where most learners first understand the trade-offs.
-
Indoors, Any Time
Window light and added light, available regardless of weather. Product and food work are taught here, which is what owners of online shops in Bali usually come for.
Exposure
Five Settings That Decide How Light or Dark a Photograph Is
Photography tutors work through these in order, on the learner's own camera. The third column is the point: every setting buys brightness by paying for it somewhere else.
| Setting | What it controls | The price paid |
|---|---|---|
| Aperture | How much light enters, and how much stays sharp behind the subject | A wide opening blurs the background, including parts you wanted sharp |
| Shutter speed | How long light is collected, and whether movement freezes | A slow shutter brightens the frame and blurs anything that moves |
| Sensitivity | How strongly the sensor responds to the light available | High sensitivity adds grain, worst in the dark areas of the frame |
| White balance | Whether colours read warm or cold | Set wrongly, skin tones go orange or blue and fixing it costs quality |
| Exposure compensation | A quick correction when the camera guesses wrongly | Leaving it set from the last scene, which quietly ruins the next one |
Learning Path
The Order of Material From Automatic Mode Onwards
The starting stage of photography work is set by what a learner can already control on their own camera, and never by the camera's price.
-
Stage 1
Leaving Automatic Mode
The three settings that control brightness, learned by changing one at a time and seeing the cost. Most learners spend two or three sessions here and stop guessing afterwards.
- One setting at a time
- Reading the result
- Shooting manually
-
Stage 2
Arranging the Frame
Where the subject sits, what to exclude, and background. The most common repair at this stage is removing things, since a crowded frame is the usual reason a technically correct photograph looks wrong.
- Placing the subject
- Removing clutter
- Backgrounds
-
Stage 3
Reading and Adding Light
Seeing which direction light comes from, then shaping it with a reflector or a single flash. Learners who reach this stage can work at any hour instead of waiting for the good one.
- Direction of light
- Reflecting and blocking
- One added light
-
Stage 4
Selecting and Processing
Choosing a few photographs from many, then correcting brightness and colour. Selection is the harder half and it is taught first, because processing a weak frame cannot rescue it.
- Choosing honestly
- Brightness and colour
- Exporting for use
Who It Is For
Learners Who Take Photography Lessons in Bali
Every session holds one learner, so the subjects photographed are the ones that learner actually needs.
-
Online Business Owners
Learners in Bali photographing their own products. Indoor window light and a repeatable set-up carry the weight, since the same shot has to be produced again next month.
-
Accommodation Managers
Learners photographing rooms and grounds. Wide interiors with bright windows are the hardest ordinary subject, and they are practised on the property itself.
-
Travel Content Makers
Learners photographing places around the island. Working quickly in changing light is the skill, since the good hour does not wait for a decision.
-
Learners Photographing Family
Learners who want better pictures of their own children. Sessions happen at the hours families are actually together, usually late afternoon or weekends.
-
School and University Students
Learners with a course requirement or a competition entry. Weight goes to the reasoning behind each frame, because that is what gets assessed.
-
Owners of Older Cameras
Learners holding equipment bought years ago and used on automatic. Nothing is bought; the first session finds out what that camera can already do.
One Session
Inside a 60-Minute Session on Location
This is the division used for outdoor photography sessions. The review on the spot is what turns a frame into a lesson.
-
10 minutes
Reading the Light on Location
Before any camera comes out: where the light is coming from, how hard it is, and where it will be in half an hour. Learners are asked to answer first.
-
10 minutes
Setting a Starting Point
Settings chosen together and written down, then checked against the first frame. Starting from a reasoned guess beats starting from automatic.
-
20 minutes
One Subject Photographed Repeatedly
A single subject shot many times with one thing changed each time. Changing everything at once produces a lucky frame and no understanding.
-
15 minutes
Reviewing on the Spot
The frames are read together while the light is still there, so a repair can be attempted immediately instead of next week.
-
5 minutes
Setting Independent Practice
One assignment with a fixed constraint before the next session: one setting, one hour, one subject.
In a 90 or 120 minute session, a session follows the light as it changes, which is the only way to practise the hour before sunset properly, which is what learners building a portfolio usually choose.
Prepared by the Learner
Equipment the Learner Brings
The admin confirms these once the schedule for photography tutoring in Bali is agreed. A camera, memory cards, and any editing subscription are prepared by the learner and not included in the fee.
-
The Camera You Use Day to Day
Whatever you own, including a phone. The programme teaches the camera in your hands, since buying equipment before understanding light is the most common wasted expense in this subject.
-
Charged Batteries and Memory Cards
Enough for an hour of continuous shooting, and ideally a spare. A session cut short by a flat battery cannot be refunded in light, because the hour does not come back.
-
Your Camera Manual
The manual or a note of where to find it online. Every camera hides its controls somewhere different, and ten minutes with the manual saves a whole session of searching menus.
-
Something to Process Photographs On
A laptop or a phone with an editing application. Selection and correction happen on the learner's own device, so the workflow is one they can repeat.
-
A List of Photographs You Want to Make
Three or four specific results: product shots for your shop, a room that looks like the room, a portrait of your child that looks like them. Specific goals shorten the programme.
If you are unsure whether your camera is suitable, describe it during the consultation. In almost every case the answer is that it is, and the first session proves it.
Equipment
Learning With the Camera Already in Your Hands
The question that opens most consultations for photography tutoring in Bali is whether a better camera is needed first. The answer is no, and it is worth explaining instead of just asserting. Almost everything taught in the first three stages is about light and arrangement, and both are free. A learner who understands direction of light makes better photographs on a phone than a learner with expensive equipment on automatic.
Equipment does matter at the edges, and the edges are specific. Very low light, very fast movement, and very wide interiors all push against what simple equipment can do. Those limits appear in practice during the programme, so a learner who does eventually buy something knows exactly which limitation they are paying to remove.
There is a practical consequence for how sessions run. Each learner's camera hides its controls in a different place, so the first session includes finding them on that particular body. Tutors are asked to teach whatever arrives, and learners are asked to bring the camera they will actually carry, not the one that impresses.
On Location
Photographing in Bali and the Manners That Go With It
Shooting on this island brings a question that does not come up in a studio, and photography tutoring in Bali addresses it directly. Much of what looks photogenic here is in use: a temple during a ceremony, an offering on a doorstep, a procession on a road. A camera changes the situation it points at, and knowing that is part of the craft.
What the programme teaches is practical and specific. Ask before photographing people, and accept a refusal without negotiating. Stay outside the area reserved for worshippers and never stand higher than a priest. Do not photograph an offering as though it were a still life left out for you. Dress appropriately when a temple is involved, since being asked to leave ends the session.
Tutors also cover the quieter half, which is what to do with the photographs afterwards. A picture of a stranger's child posted publicly is a different act from the same picture kept in a family album, and learners are asked to think about that before uploading. Learners who shoot commercially are taken through asking permission for commercial use, which is a separate conversation from asking for a photograph.
Processing
The Limits of Processing Used in This Programme
Processing in photography tutoring in Bali runs to a stated boundary, and the boundary exists so learners know what they are being taught. Brightness, contrast, colour balance, straightening, and cropping are all in. Removing objects, replacing skies, reshaping bodies, and adding light that was never there are out.
The reason is not a moral position about editing. It is that heavy manipulation substitutes for the skills the programme exists to build. A learner who fixes a crooked horizon in software has learned something useful; a learner who replaces a dull sky every time stops noticing the sky, and the noticing is the skill.
There is one place where the boundary is firmer. Learners photographing accommodation or products are shooting for buying decisions, and a room that looks larger in the picture than in person generates a complaint instead of a booking. Processing is kept to what the eye saw, which also happens to be the version that keeps guests from feeling misled.
What Learners Say
Stories From Photography Learners in Bali
The quotes below come from learners in Bali who completed the photography programme at Edupola, with their situation and what changed.
-
★★★★★
My travel photographs look far more professional now. Instagram engagement rose sharply once I learned composition and editing from my Edupola tutor.
Reza P.
Travel blogger · Verified learner
-
★★★★★
I used to pay a photographer for product shots. After lessons at Edupola I take them myself and the results hold up. It saves money.
Anita D.
Online shop owner · Verified learner
-
★★★★★
I got knowledge and industry insight that is not on YouTube. I have started taking freelance wedding work thanks to the portfolio I built during the lessons.
Wijaya
Trainee wedding photographer · Verified learner
-
★★★★★
Photography as a hobby means more to me now. Pictures of my family and children came out better, and I can print them and put them up with pride.
Maya S.
Parent at home · Verified learner
-
★★★★★
My tutor taught not only technique but the eye for seeing a moment. My videos have a more cinematic look now.
Dimas A.
Content creator · Verified learner
-
★★★★★
A very practical complement to my degree. My Edupola tutor taught real-world application that the campus does not cover.
Sinta P.
Visual communication design student · Verified learner
How to Register
Four Steps to the First Session
The opening consultation carries no fee. The admin asks what camera you have and what you want to photograph.
-
Name Your Camera and Your Subjects
Say what equipment you hold and what you need to photograph. Those two answers set the starting stage and which hours your sessions should use.
-
Agree the Schedule
Days, times, session length, and sessions per month are agreed with the admin, following the light your lessons need, which usually means early morning or late afternoon.
-
Matching the Tutor
The team looks for a tutor whose travel to your location in Bali stays short, and that search runs 1 to 5 working days. Experience with your subject matter is part of the match, since product work and location work are different trades.
-
The First Session
Your camera's controls are found on that body, the light at your location is read together, and one subject is photographed repeatedly.
Documentation
Photography Lessons With Edupola in Bali
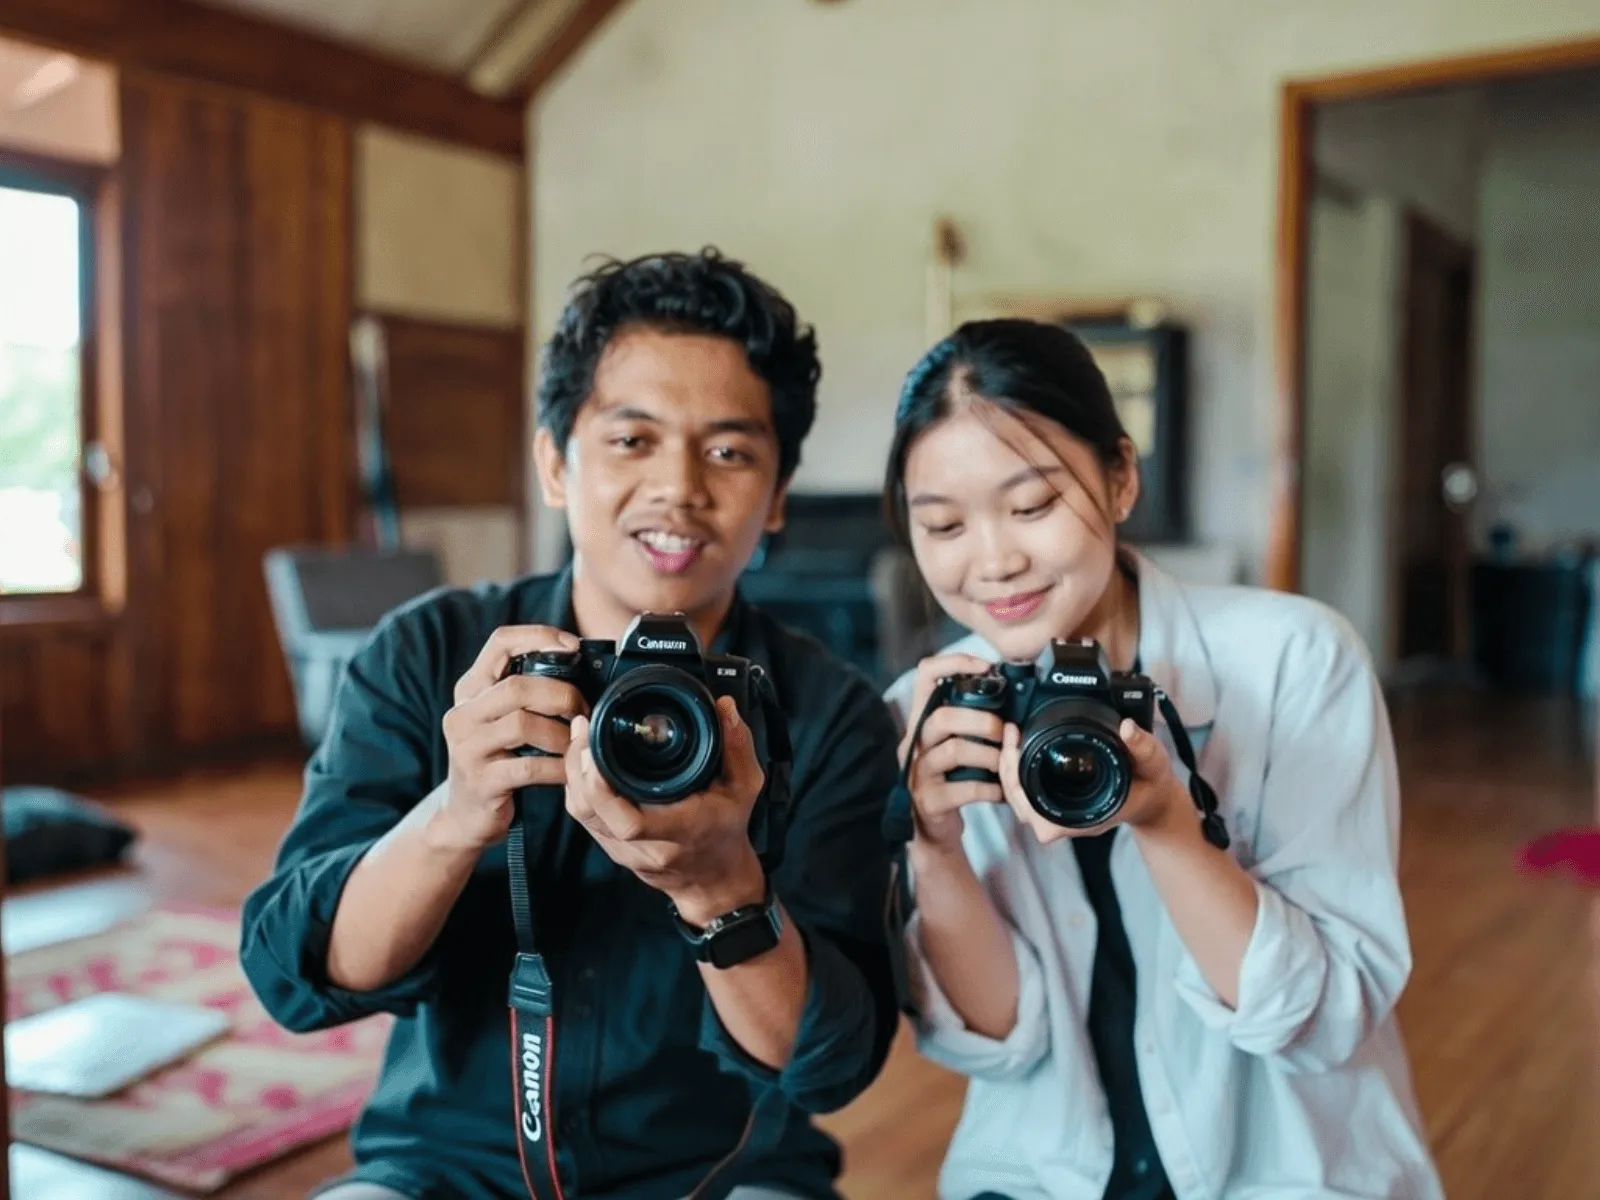
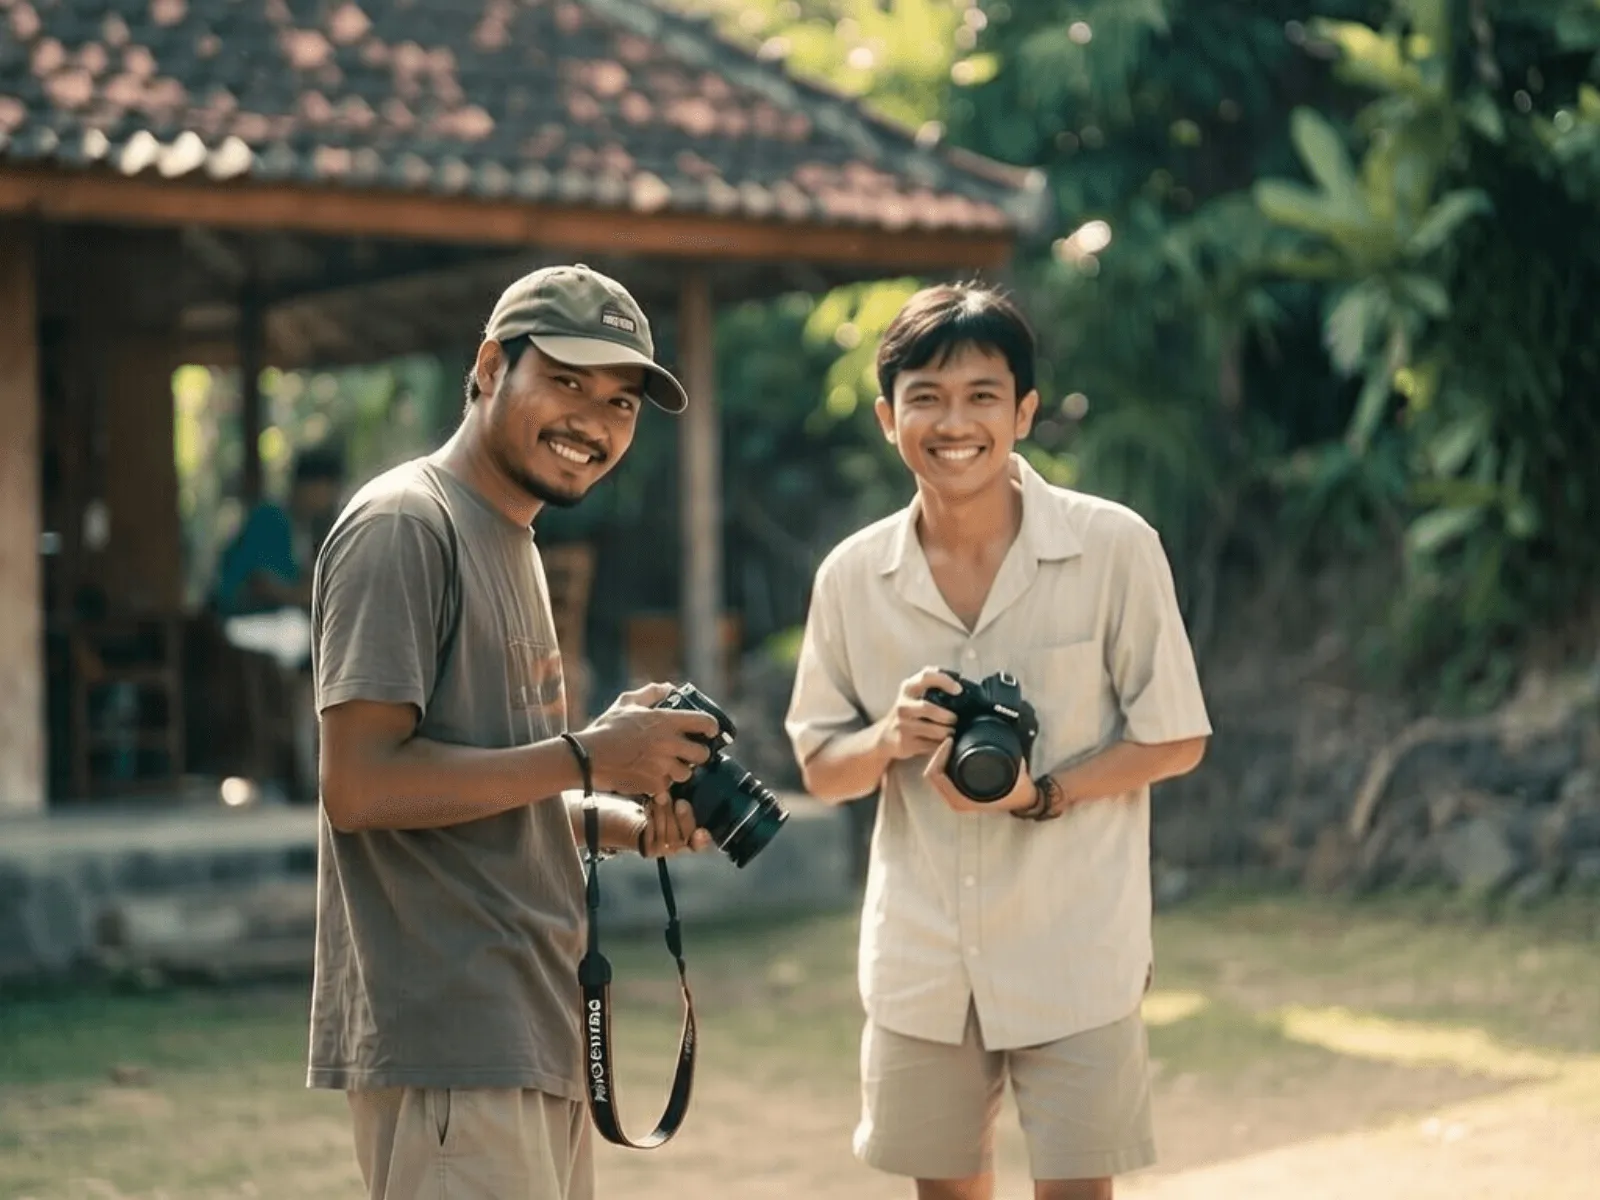
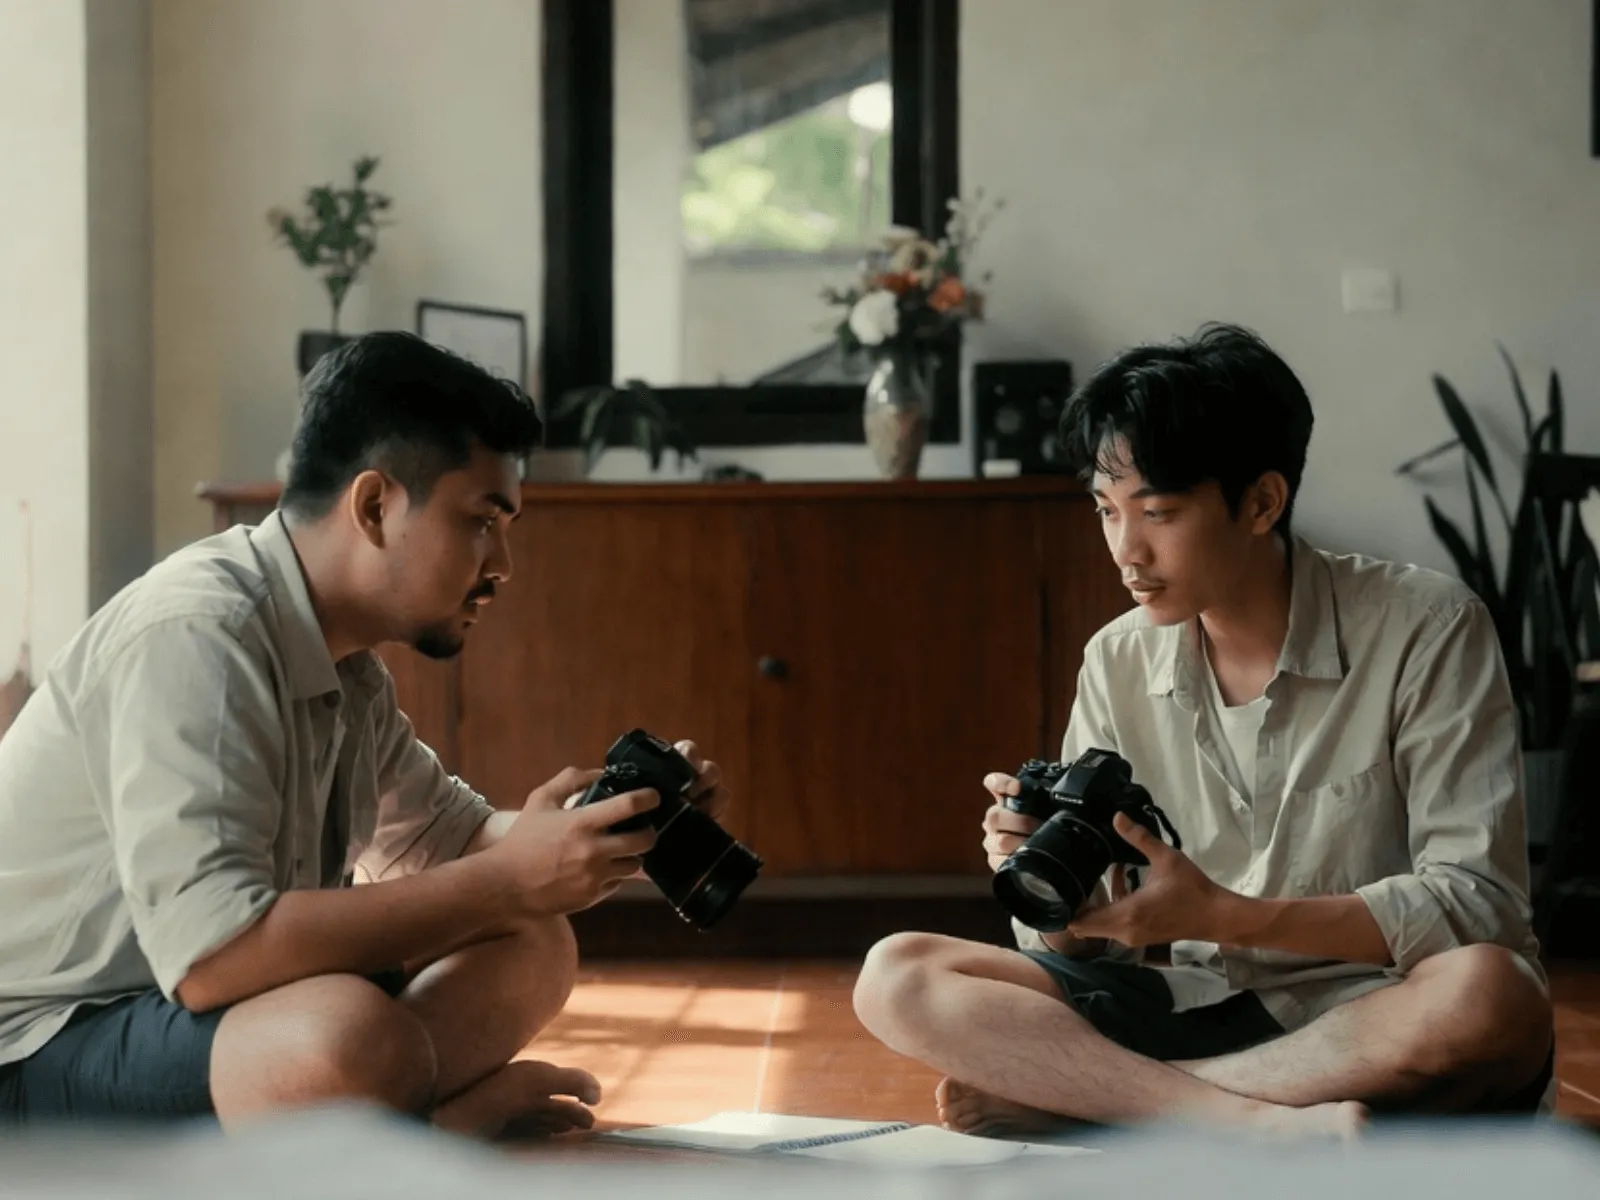
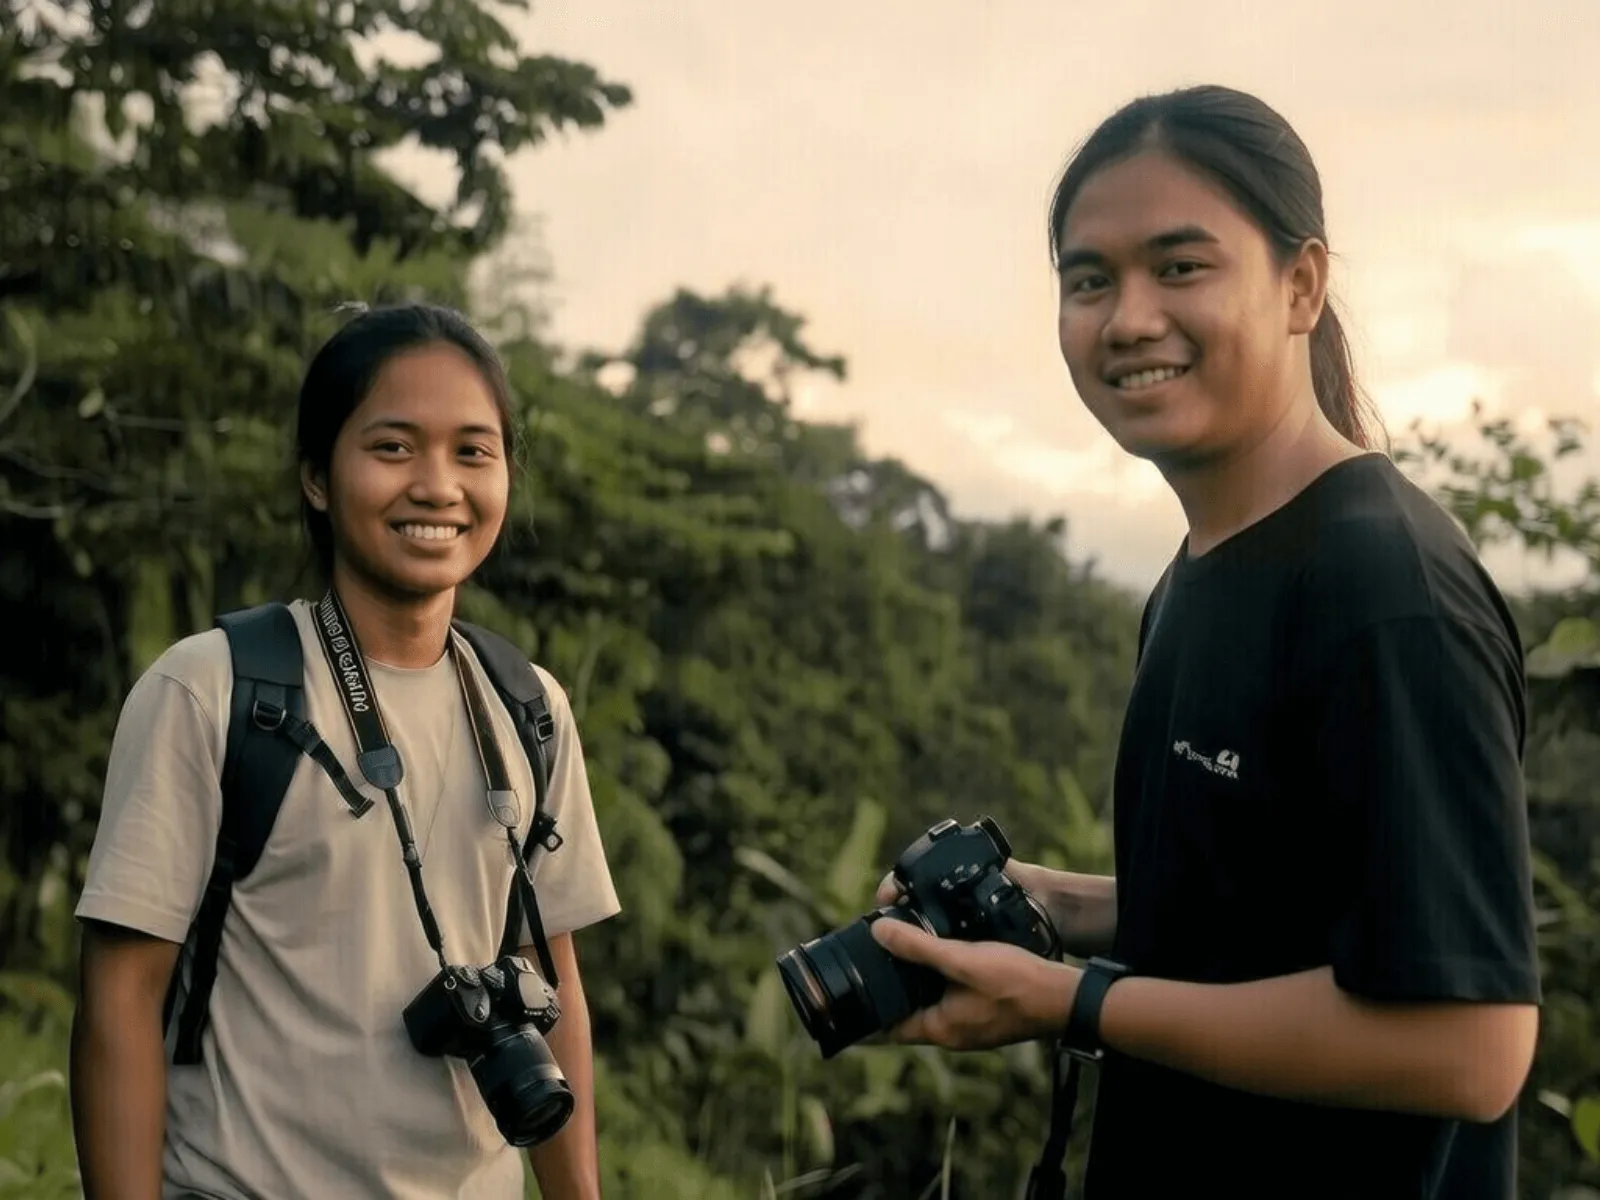
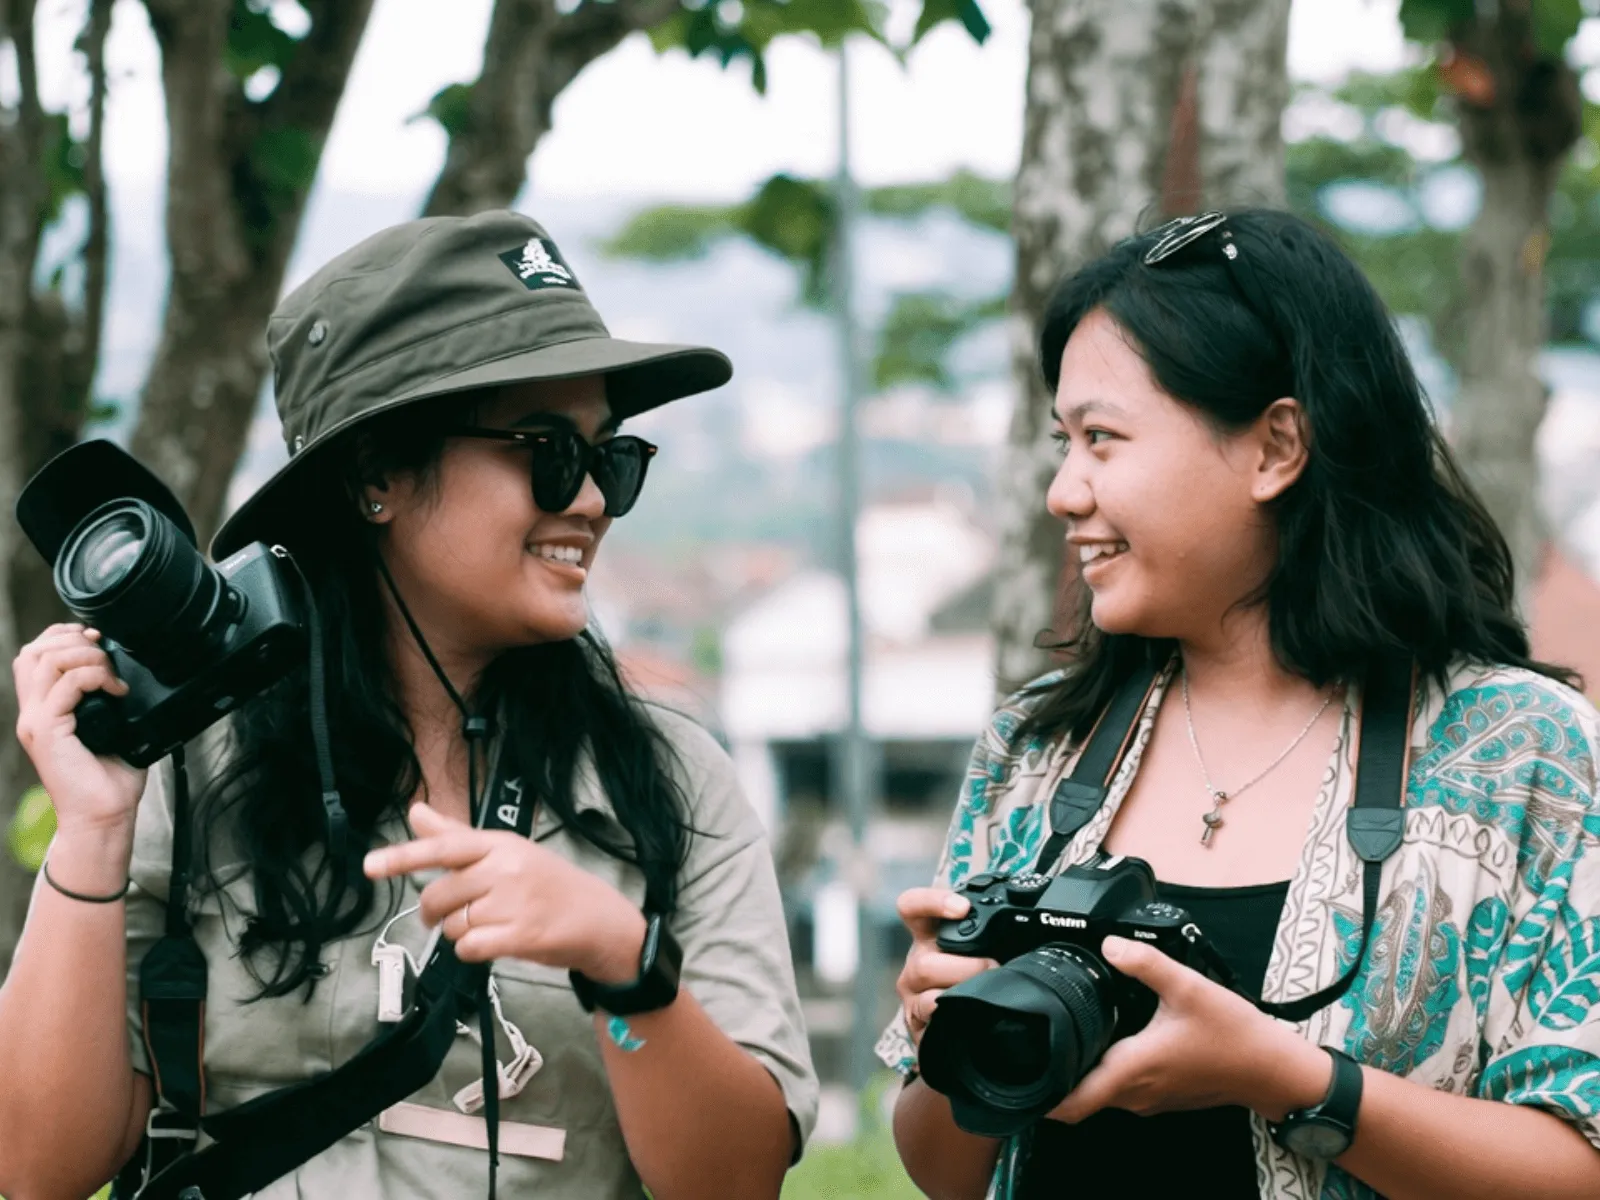
The photographs below were taken during photography tutoring in Bali sessions with learners on the island.
Service Area
Where Edupola Photography Tutors Travel in Bali
Tutors for photography tutoring in Bali travel to the location you choose, from Denpasar, Badung, and Gianyar through to Tabanan, Buleleng, Klungkung, Bangli, Karangasem, and Jembrana. Sessions usually happen on location instead of at a table, so the meeting point is chosen for its light and its subject matter.
Location choice is part of the teaching here, more than in any other programme. A learner wanting product photographs is best served at their own premises, where the window and the shelf they will use every month already are. A learner wanting landscape or street work is taken somewhere with the right light at the agreed hour, usually near their home to keep travel out of the session.
The Edupola office is not used as a lesson venue. Where no tutor is available near you, sessions run online, and what carries over are the camera settings, the review of shots already taken, and the selection; standing beside the learner while the light moves does not. Ask the admin about tutor coverage at your location in Bali.
Online Sessions
Which Parts of Photography Transfer to Online Sessions in Bali
Online sessions for photography tutoring in Bali run over Zoom or Google Meet, and this programme splits cleanly into parts that transfer and parts that do not. Selection, processing, reading a histogram, and reviewing a learner's frames all work well on a shared screen, and some learners find the review sharper this way because the discussion is slower.
Shooting is the part that stays in person. Reading light needs the tutor standing in the same light, and an hour spent describing a scene over a stream teaches description instead. Outside tutor coverage the usual arrangement is split: the shooting is done alone against a brief, and the online hour goes to reviewing what came back.
That pattern works better than it sounds, and the reason is the assignment. A learner who shoots alone with a written constraint, then defends their choices on a call, does more thinking than one who shoots beside a tutor. Fees for online sessions match face-to-face sessions.
Frequently Asked
Questions From Photography Learners in Bali
What does private photography tutoring in Bali cost?
Fees start from IDR 174,100 for a 60-minute session, the shortest option. Sessions of 90 and 120 minutes are available with the fee following the length. The final fee follows session length and the number of sessions per month, between 4 and 28. The admin sends the breakdown in writing before the first payment. A camera, memory cards, and any editing subscription are prepared by the learner and not included in the fee.
Do I need to buy a better camera first?
No, and the programme is arranged to make that clear. The first three stages are about light and arrangement, both of which are free, and a learner who understands the direction of light produces better work on simple equipment than one with expensive equipment on automatic. Equipment limits do appear eventually, in very low light and very wide interiors, and by then you know which limit you are paying to remove.
Can I learn photography with a phone camera?
Yes, for most of the programme. Composition, light, selection, and processing all apply directly, and modern phones expose a surprising amount of manual control once you know where to look. The stages that need a camera with interchangeable lenses are the ones involving shallow depth and very low light, and the tutor will tell you plainly when you have reached them.
Why are session times decided by the light?
Because light is the subject being taught and it cannot be requested. Each window of the day produces a different lesson: soft and low early, hard and overhead at midday, warm and fast-changing before sunset. A session placed at a convenient hour teaches whatever that hour happens to offer, which is why the hour is chosen for the lesson instead.
Are there costs beyond the lesson fee when shooting on location?
Sometimes, and they are named before the session. Some locations in Bali charge an entrance fee, and those are paid by the learner on the day. Travel for the tutor is already in the fee. Most sessions are arranged at places with no charge, including the learner's own premises, and the admin will say in advance if a site has a fee.
How is a photography tutor matched to a learner?
The schedule is settled first during the consultation, covering days, times, session length, and sessions per month. The Edupola team then looks for a tutor whose travel to your location in Bali stays short, and that search runs 1 to 5 working days. Experience with your subject matter is part of the match, since product work, interiors, and location work are different trades. If the first 2 weeks feel like a poor fit, a replacement is arranged at no extra cost.
Related Programmes
Other Programmes Learners Add in Bali
Learners taking photography tutoring in Bali often add one other programme, usually because the photographs have somewhere to go.
-

Graphic Design Tutoring in Bali
Taken by learners whose photographs need to sit inside a layout.
-

Digital Marketing Tutoring in Bali
Chosen by learners photographing for their own business promotion.
-

Content Creator Mentoring in Bali
Often added by learners posting their own photographs on a schedule.
Get Started
Start From the Camera You Already Own
Name the camera you hold, the photographs you need to make, and the hours you are free. A tutor in Bali is matched within 1 to 5 working days.