
Private Sculpture Tutoring in Bali
Sculpture Tutoring in Bali: Nothing Goes Back On
Sculpture tutoring in Bali from Edupola pairs one teacher with one learner. Material can be taken away and never put back, so 6 working rules exist for one purpose only, which is keeping a mistake recoverable while there is still material left to correct into. Fees from IDR 153,800 per session.

Rating and fees for sculpture tutoring in Bali
| Programme | Sculpture Tutoring in Bali |
|---|---|
| Provider | Edupola |
| Description | Private sculpture tutoring in Bali, one teacher per learner: the material only ever gets smaller, so the whole way of working is built around mistakes being permanent. |
| Fee | Fees start from Rp153,800 per session. |
| Session Length | Every session runs 60, 90, or 120 minutes. |
| Schedule | Flexible, following the learner's free hours. |
| Start | Enrolment is open year round. |
| Sessions per Month | 4 to 20 sessions per month, as needed. |
| Rating | 4.9 out of 5, 104 reviews |
Programme at a Glance
Sculpture Tutoring in Bali and Material That Only Decreases
Sculpture tutoring in Bali runs one tutor with one learner, at a place you can sweep. One fact separates this craft from painting and drawing.
A painting can be overpainted. A drawing can be erased. Material removed from wood or stone cannot be put back. So the discipline of this craft is not about producing fine detail: it is about ordering the work so that an error is still recoverable when it happens.
That is why the large shape is finished before any fine part is touched, why working lines are marked outside the final outline, and why a new technique is always tried on a scrap piece first. Fees start from IDR 153,800 per 60-minute session, with 4 to 28 sessions a month. This programme holds a 4.9 out of 5 rating across 104 learner reviews in Bali.
Working Rules
Six Ways to Work When a Mistake Is Permanent
These six are the method of sculpture tutoring in Bali. They are not caution for its own sake; each one keeps a specific kind of error recoverable.
-
The Large Shape First
The overall form is taken to correct before a single fine part is touched. Fine work carved on top of a wrong overall shape has to be removed, and removing it takes the shape with it.
-
Leave Spare Material
Working lines are marked outside the final outline, so there is always material left to correct into. Carving exactly on the line leaves nothing to adjust with.
-
Take a Little From Many Sides
Material is reduced all round in thin layers instead of being dug deep at one point. Digging deep at one point makes the depth uneven, and it cannot be levelled upwards.
-
Mark Before You Strike
Lines and boundaries are marked in pencil or a light scratch, then checked from several distances before the chisel is used. Checking from close up hides a wrong proportion.
-
Stop When in Doubt
If the learner is unsure where the next cut goes, the work stops and the form is checked again. Doubt carried forward into a struck chisel is how most pieces are lost.
-
Practise on Scrap
A new technique is tried on a scrap piece first, and the real work is touched only once the cut is under control. Scrap costs the least of anything in this craft.
Materials
Carving Materials and the Character of Each
Learners choose from this at the consultation, and the choice sets the tools. The third column is what that material asks of you.
| Material | Its character | What it demands |
|---|---|---|
| Softwood | Easy to cut and forgiving of small errors, good for early practice | A genuinely sharp chisel; a blunt one tears the grain instead of cutting it |
| Hardwood | Dense grain and a fine finish, used for work that will be sold | More force and more frequent sharpening, and errors cost more because the material does |
| Paras stone | Soft and grainy, the main material for building carving in Bali | Disciplined dust handling, because the grains are fine and are breathed without being felt |
| Hard stone | Weather resistant and long lasting | Special steel-tipped chisels and a rhythmic strike; progress is slow and demands patience |
| Relief | A form standing out from a flat surface, used on panels and walls | Even depth across the whole surface, and this is the part beginners find hardest to hold |
| Three-dimensional form | Work that is seen from every direction | Checking from four sides in turn, since a form correct from the front can be wrong from the side |
Learning Path
Carving Work From a Line to a Whole Form
The carving stage a learner starts at is set by sharpening one chisel and making a few cuts on scrap in the first session.
-
Stage 1
Sharpening and Cutting Lines
Sharpening a chisel until it is genuinely sharp, holding the chisel and the mallet, and making straight and curved cuts on scrap. No piece is produced here.
- Sharpening first
- Holding both
- Scrap only
-
Stage 2
Shallow Relief
One shallow relief panel with a simple motif, worked from marking the lines through to levelling the depth. Uneven depth is the fault this stage exists to fix.
- Marking lines
- Even depth
- A simple motif
-
Stage 3
Layered Relief and Traditional Motifs
Relief with several depths, and traditional motifs that carry rules of their own. The motifs are discussed together with where they belong.
- Several depths
- Traditional motifs
- Where they belong
-
Stage 4
Three Dimensions and Finishing
Work seen from every direction, made by checking four sides in turn, then smoothed and given a protective finish.
- Four sides
- Smoothing
- A protective finish
Who It Is For
Sculpture Learners in Bali
Every session holds one learner, so the material and the size of the piece are chosen with that learner.
-
Heirs to a Family Carving Business
Learners in Bali whose family carves and who want the skill ordered from the foundation. Sharpening and even depth take the larger share.
-
Artists Adding a Material
Learners in Bali who already draw or paint and want to work in solid material. The design part is passed quickly.
-
Builders and Interior Workers
Learners in Bali working on building ornament. Material is aimed at paras stone and relief panels, including levelling depth.
-
Learners Seeking a Quiet Craft
Learners in Bali who chose carving as a settling activity. The piece is kept small so it finishes within a few sessions.
-
Pupils and Teenagers
Learners of school age in Bali drawn to carving. Started on softwood with small chisels and full supervision throughout.
-
Learners From Outside Bali
Learners staying temporarily in Bali who want to study the local carving. One small piece is designed to finish inside the stay.
One Session
Inside a 60-Minute Sculpture Session
This is the division used once a learner has a piece in progress. The first and third blocks are the ones that save pieces.
-
10 minutes
Sharpening and Checking the Chisel
The chisel is sharpened and its edge inspected. A blunt chisel tears the grain instead of cutting it, and a tear is permanent.
-
10 minutes
Checking the Work From a Distance
Last week's piece is looked at from several distances, then today's area is marked in pencil. Checking from close up hides a wrong proportion.
-
10 minutes
Trying It on Scrap
The day's technique is tried a few times on scrap with the same grain direction. This block is what saves pieces that would otherwise be lost.
-
25 minutes
Working on the Piece
Material is reduced all round in thin layers, and the teacher stops the learner each time the direction of the cut starts to look uncertain.
-
5 minutes
Clearing Dust and Tools
Dust is cleared, chisels wiped and stored dry, then the teacher names the part the learner can continue alone and where to stop.
In a 90 or 120 minute session, a whole area is taken to its final depth while the chisel stays sharp from one sharpening, which is what learners working on relief panels or a piece for sale usually choose.
Prepared by the Learner
The Tools, Material, and Place That Need to Be There
The admin confirms these once the schedule for sculpture tutoring in Bali is agreed. A few chisels, a mallet, a sharpening stone, and scrap material are prepared by the learner and not included in the fee.
-
A Few Chisels and a Mallet
Several chisels with different edge shapes, and no complete set is needed. The teacher names the shapes that suit your chosen material at the consultation.
-
A Sharpening Stone
A sharpening stone and the method for using it. Sharpening happens at the start of every session, and a blunt chisel is the most frequent reason material is ruined.
-
Practice Material and Work Material
Scrap pieces for trying technique, plus one piece for the actual work. The scrap cannot be skipped: it carries the errors the real material would otherwise take.
-
A Table or Mount That Does Not Shift
A solid table or a mount that can be clamped, because material that shifts under a strike sends the cut off line. This is the most common complaint from learners working on the floor.
-
Eye Protection and a Dust Mask
Eye protection is worn throughout, and a dust mask is required for paras stone, whose grains are fine and are breathed in without being noticed at the time.
If you have not chosen a material, say so during the consultation. Most learners start on softwood, and the teacher names the chisel shapes before anything is bought.
Grain
The Direction of the Grain and the Cut That Tears
Wood has a grain direction, and that direction decides whether a cut leaves a smooth surface or a tear. In sculpture tutoring in Bali this is the first technical lesson after sharpening: cutting along the grain leaves a clean surface, cutting across it leaves fibres standing, and cutting against it lifts and tears the wood.
On a curved form the grain direction changes along the curve. The consequence is that one long cut which feels right at the start can begin tearing halfway through, and new learners usually notice only after the damage is done. So cuts on a curve are made short, with the direction reassessed at each one, which looks slow and is the faster route.
Stone has no grain in the way wood does, but it has a tendency to split in particular directions and sometimes holds a softer layer inside. That is why strikes on stone are rhythmic and light instead of single and hard: a heavy strike that meets a softer layer takes away more than was intended, and in stone that is the end of the matter.
What Learners Say
Stories From Sculpture Learners in Bali
The quotes below come from learners in Bali who completed the sculpture programme at Edupola, with their situation and what changed.
-
★★★★★
Retired in Bali and I wanted to fill my time with something meaningful. The Edupola instructor taught me from nothing: choosing the wood, holding the chisel correctly, and eventually I finished a 40 cm Ganesha statue. An extraordinary and very personal experience.
Finished a first Ganesha carving
James R.
Retiree in Ubud · Verified learner
-
★★★★★
I learned carving from my grandfather but my technique had stalled. The Edupola instructor helped me understand anatomical proportion and modern finishing. Three months later my contemporary relief was accepted for an exhibition at a well-known gallery in Ubud. I am so proud.
Work exhibited in an Ubud art gallery
Arta W.
Young artist, Gianyar · Verified learner
-
★★★★★
Until now I could only make moulded souvenirs. After sculpture lessons at Edupola I learned detailed hand carving: miniature Barong, Rangda masks, floral ornament. Now my products are in premium art shops and the selling price is three times what it was.
Carvings now sell at a higher price
Sari D.
Souvenir maker, Tegallalang · Verified learner
-
★★★★★
I was always interested in woodcarving but never had the chance to learn seriously. At Edupola, the instructor is remarkably patient. Within six months, I already have five wood carvings on display in my house in Sanur. My friends do not believe I made them.
Completed a woodcarving collection for their home
David M.
Retired engineer from Australia · Verified learner
-
★★★★★
My lecturer said my portfolio lacked three dimensions. I took carving lessons at Edupola to strengthen my sculpture skill. As a result, my portfolio became far stronger and I won an art scholarship from a cultural foundation. Thank you Edupola.
Won an art scholarship thanks to a carving portfolio
Ayu S.
Fine arts student, ISI Denpasar · Verified learner
-
★★★★★
At first I took carving lessons on a whim to fill my free time. It turned out I got hooked! The Edupola instructor taught everything from basic patterns to neat finishing technique. Now I regularly sell my wood carvings on a marketplace and already have regular customers.
Sells carvings online through a marketplace
Ayu K.
Homemaker, Denpasar · Verified learner
Motifs
Balinese Carving Motifs and Where Each Belongs
Carving in Bali has a body of motifs whose forms are maintained and whose uses each have their place. Some motifs belong on temple buildings, some on houses, and some on furniture and everyday objects. The forms are not invented freely: the proportions, the direction of the vines, and the arrangement follow rules that were handed down.
So this programme teaches a motif together with where it is used, and does not treat a motif as decoration that can be moved onto any object. For work that will be installed on a temple building or used in a ceremony, learners are directed to discuss it first with the people responsible in that community, because considerations apply there that go beyond carving technique.
For learners whose aim is work to sell, motifs are learned as a foundation and then developed. The teacher distinguishes clearly which parts carry fixed rules and which parts are open to development, so the learner knows where they are working. That distinction is part of the material, and it is what keeps new work legible as Balinese carving.
How to Register
Four Steps to the First Sculpture Session
The opening consultation carries no fee. The admin asks which material you want and what the piece is for.
-
Name the Material and the Purpose
Which material you want to work, wood or stone, and what the piece is for: selling, your own use, or practice. Both set the tools and the size.
-
Agree the Schedule
Days, times, session length, and sessions per month are agreed with the admin, following daylight hours, which most learners choose because the shape has to be checked from a distance in good light.
-
Matching the Teacher
The team looks for a tutor whose travel to your location in Bali stays short, and that search runs 1 to 5 working days. The material decides this: wood carving, paras stone, and relief panels are matched to teachers who work them.
-
The First Session
You sharpen one chisel and make a few cuts on scrap, and the starting stage is set from what the teacher sees.
Need help? Contact our admin on WhatsApp for a free consultation.
Documentation
Sculpture Lessons With Edupola in Bali
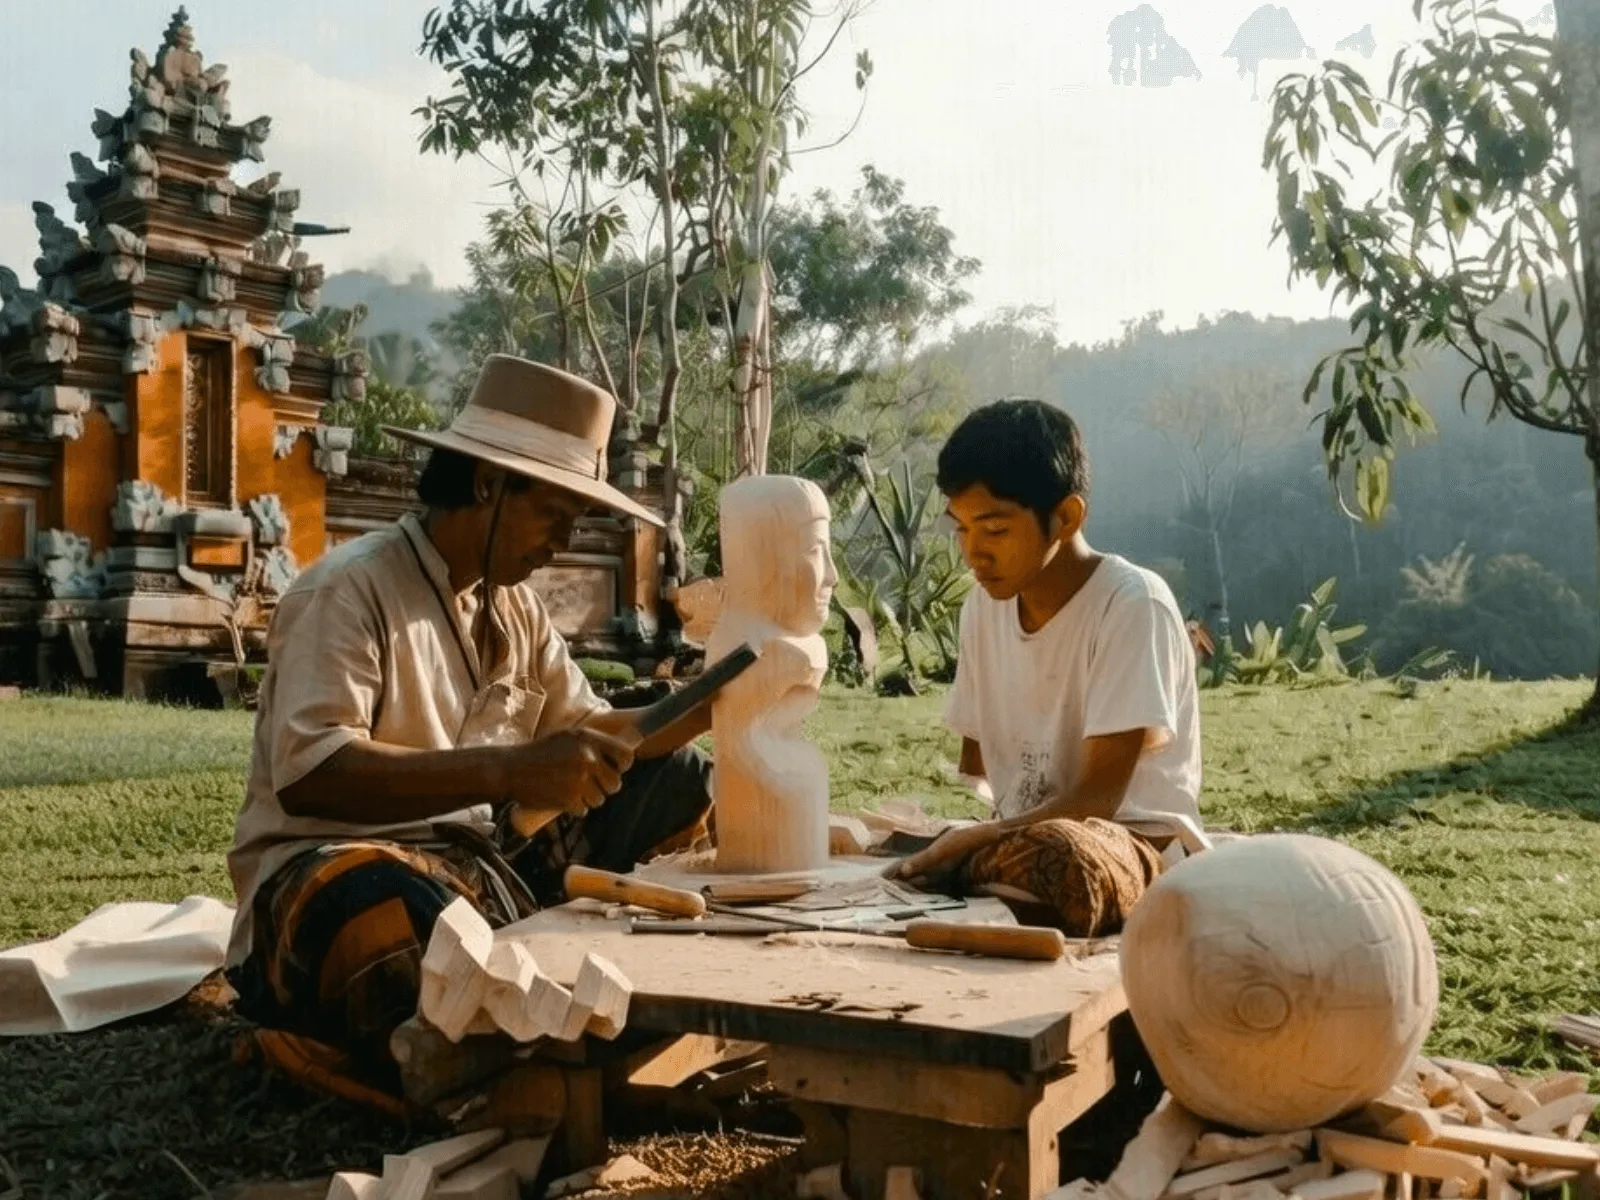
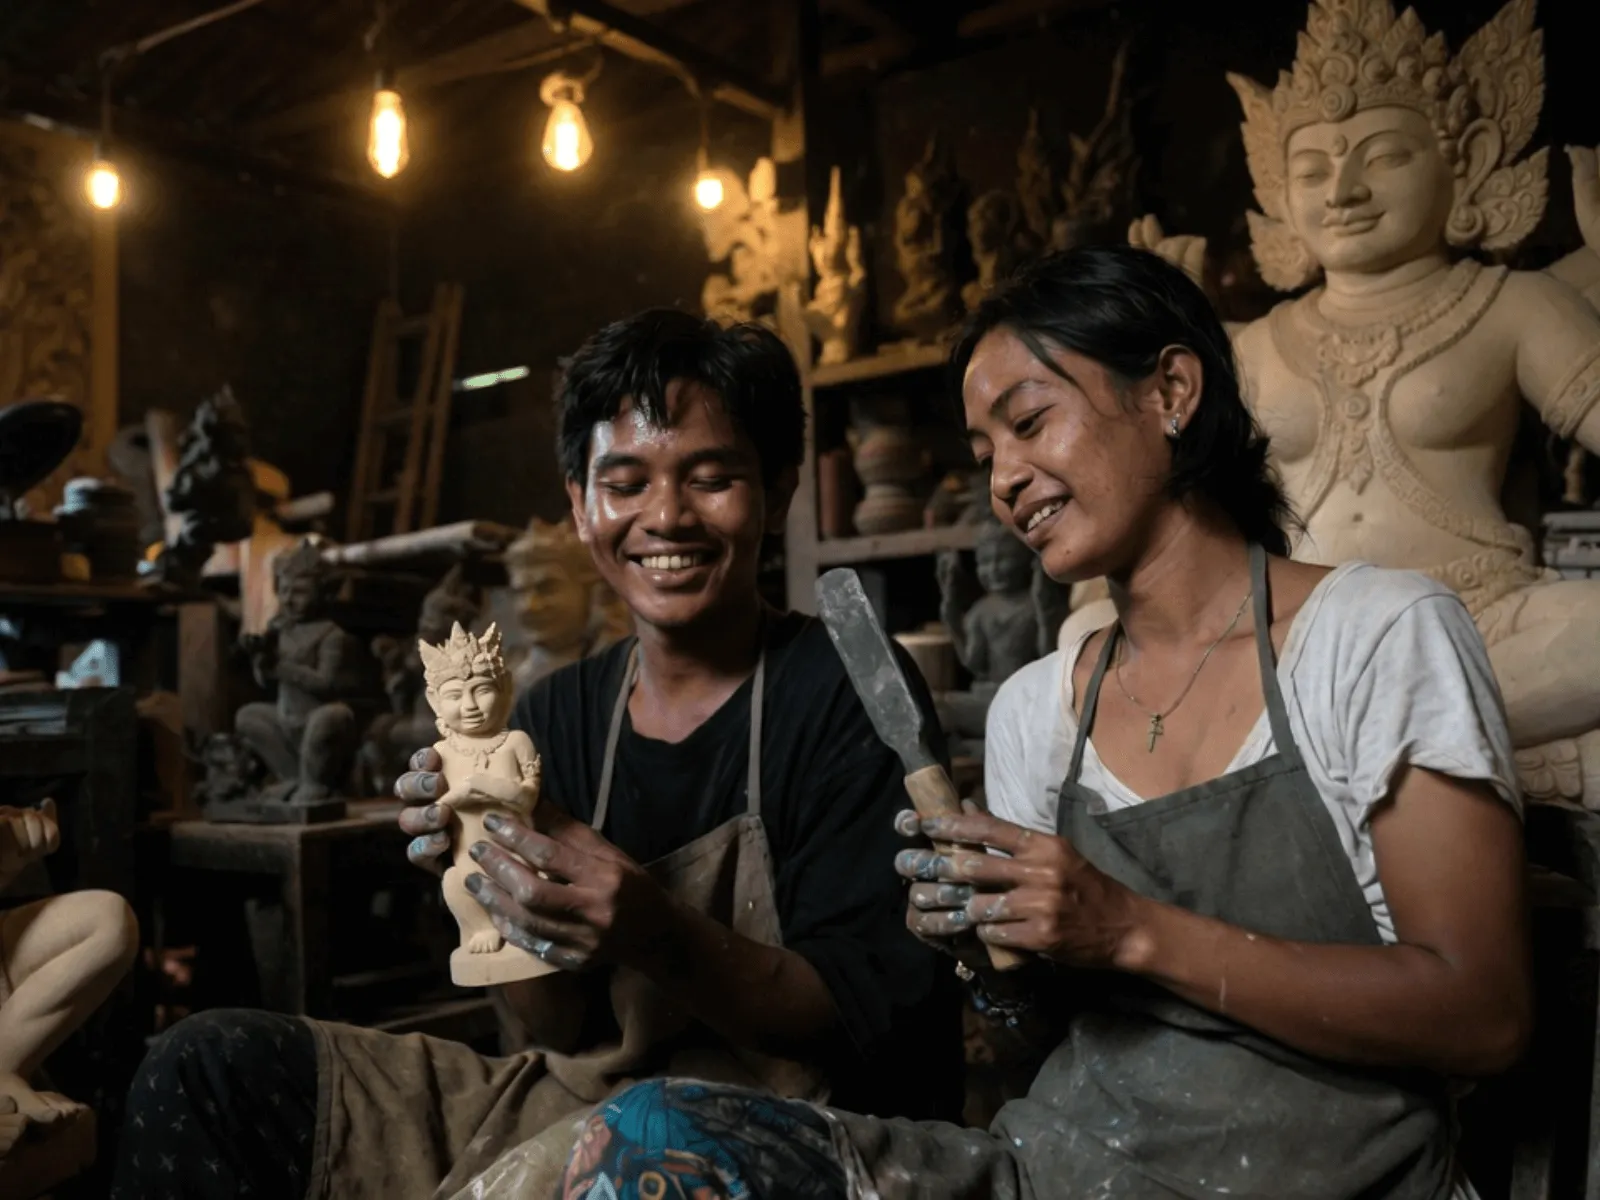
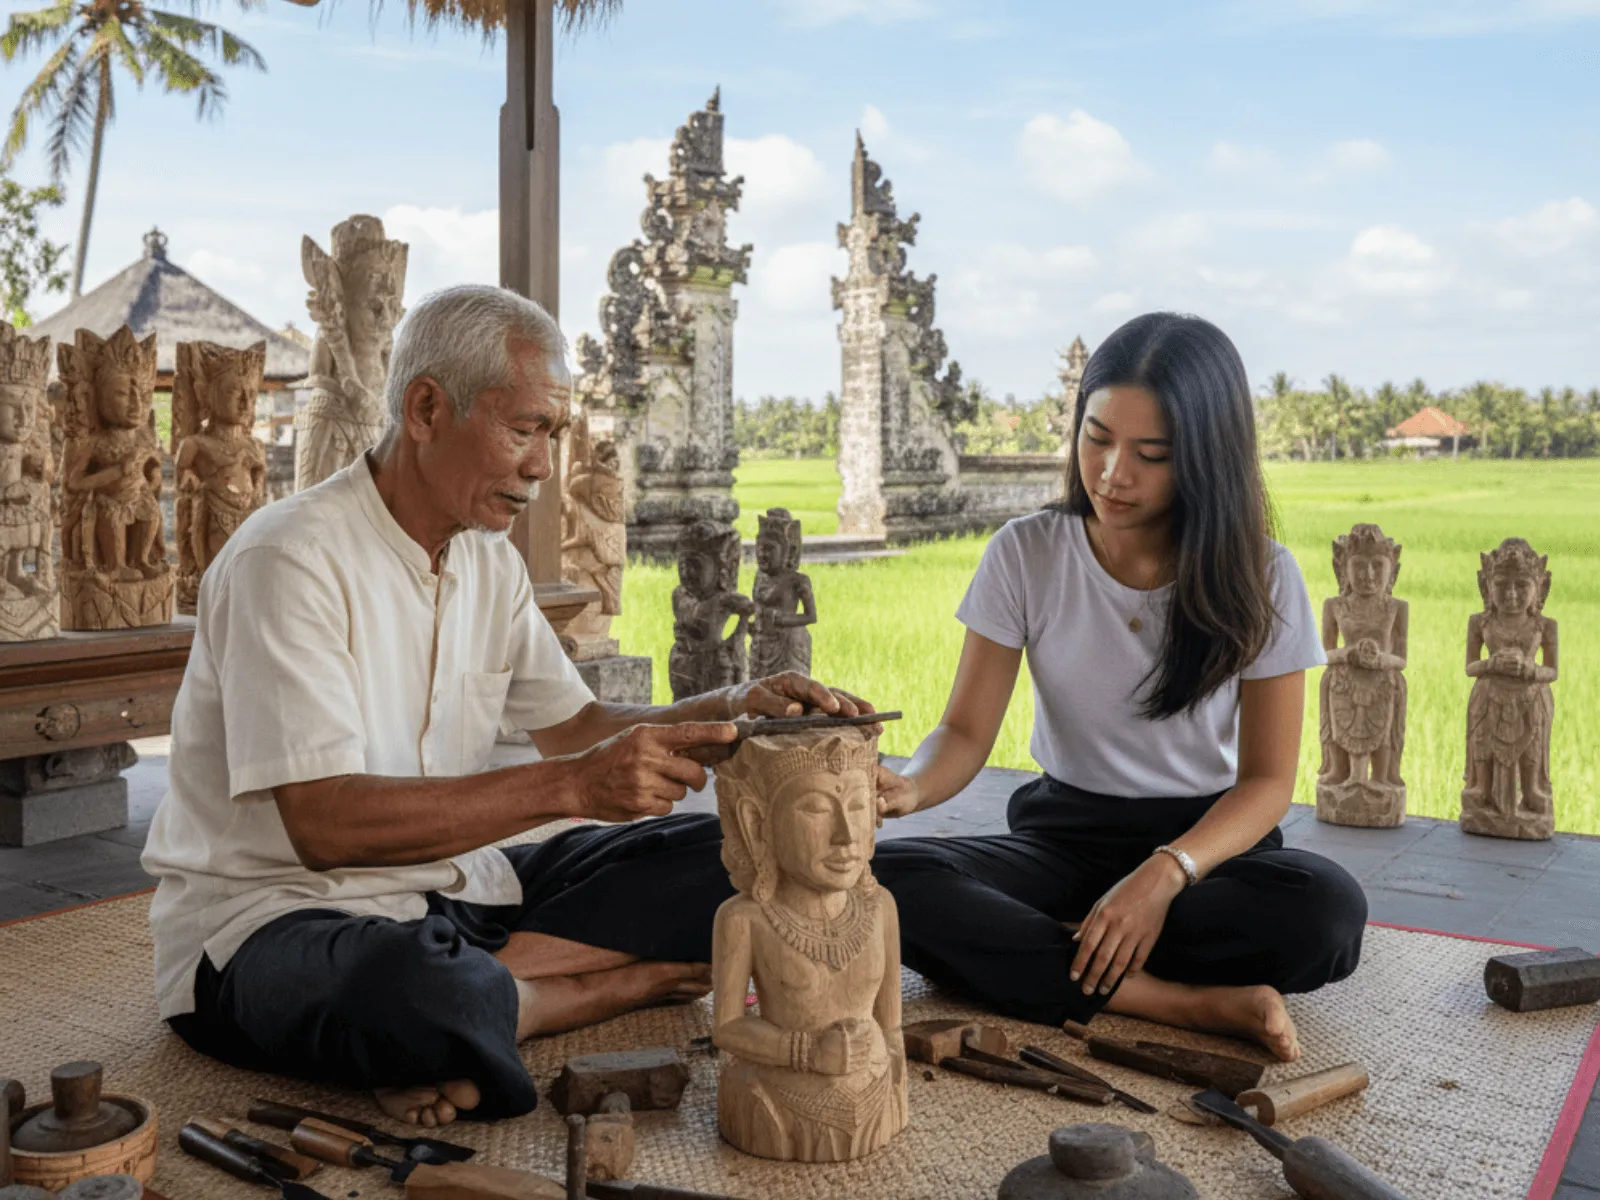
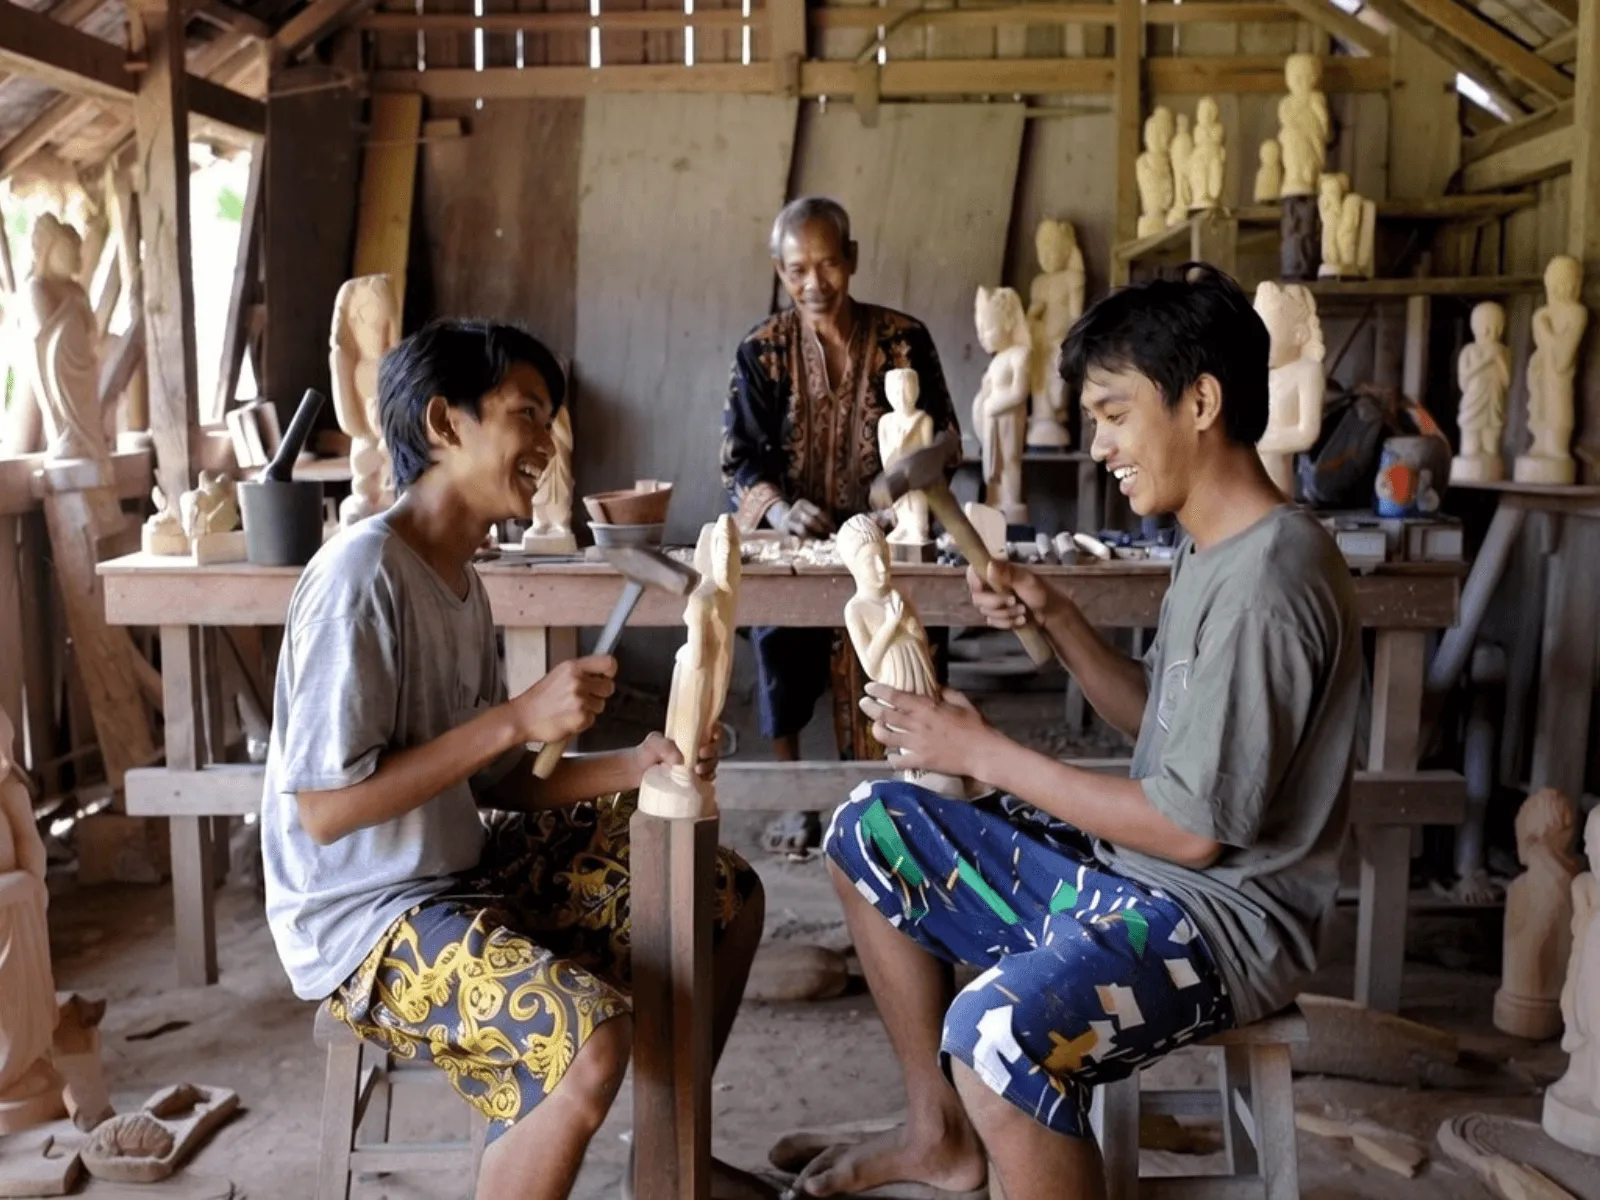
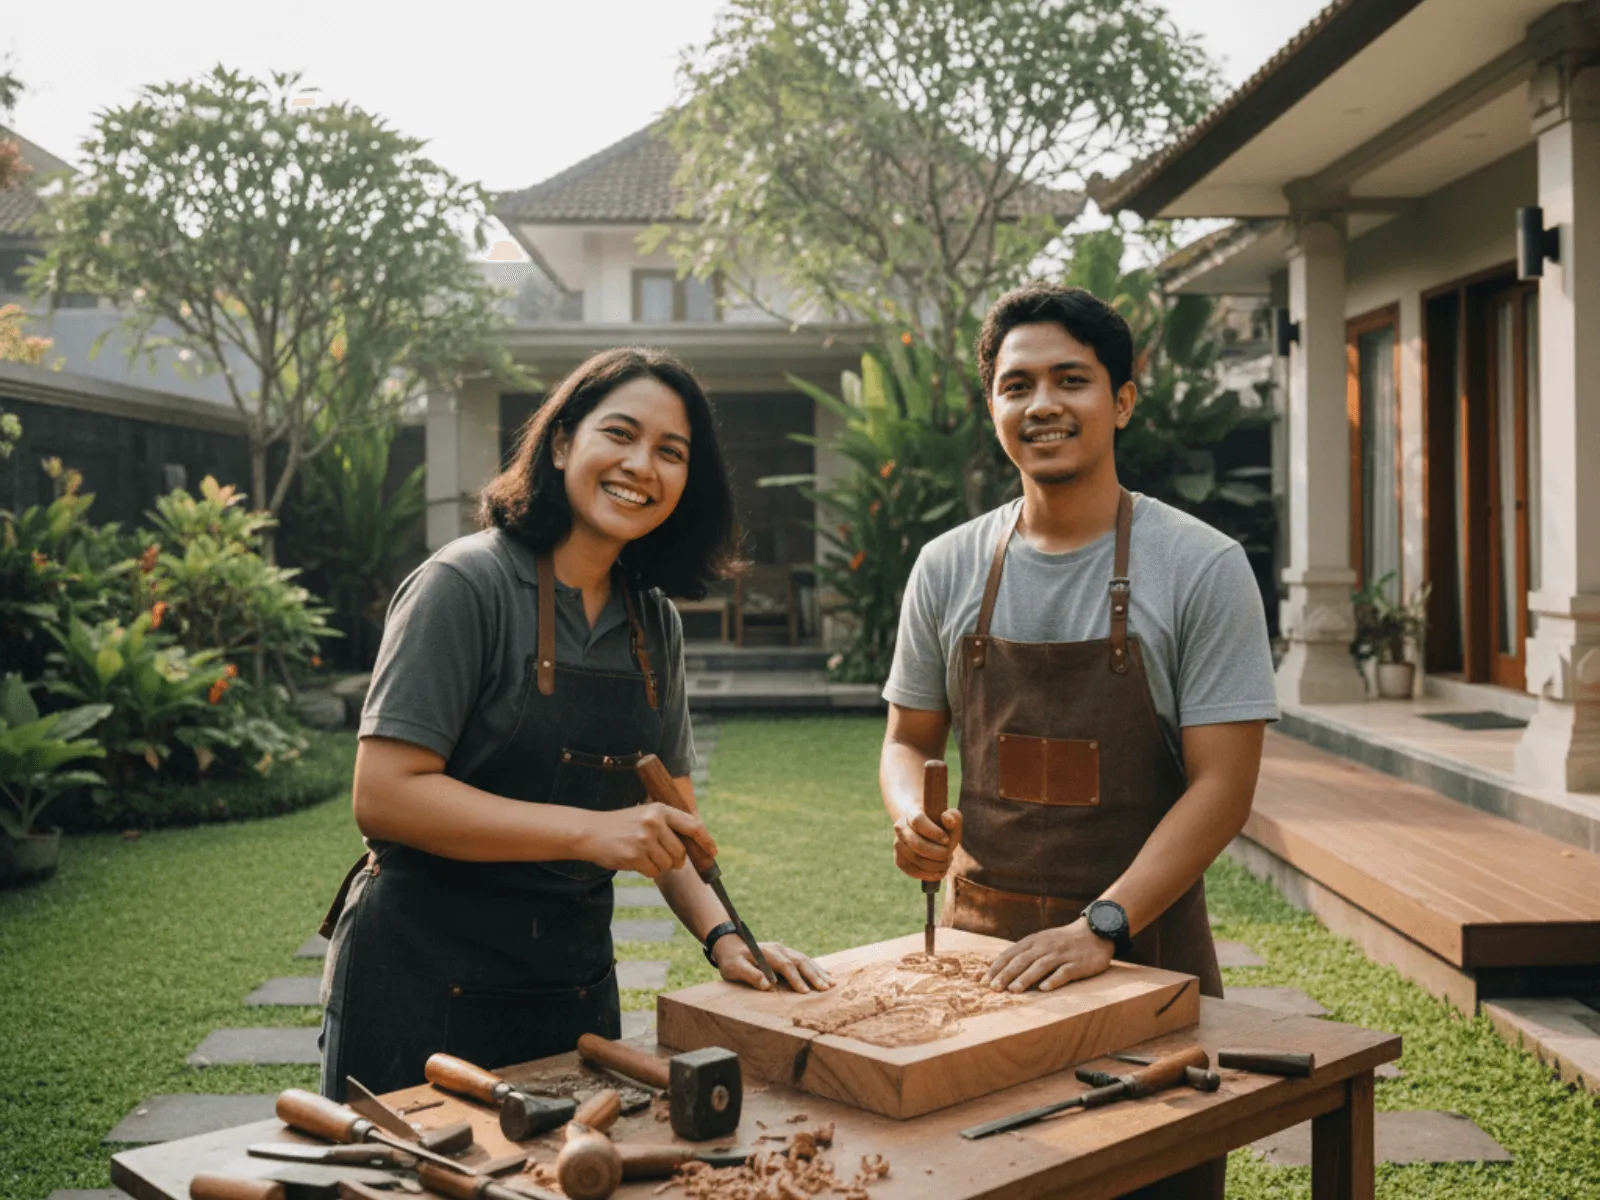
The photographs below were taken during sculpture tutoring in Bali sessions with learners on the island.
Service Area
Where Edupola Sculpture Teachers Travel in Bali
Tutors for sculpture tutoring in Bali travel to the location you choose, from Denpasar, Badung, and Gianyar through to Tabanan, Buleleng, Klungkung, Bangli, Karangasem, and Jembrana. What decides matters in this programme is the working place: this craft produces chips and dust, and neither belongs in a room with furniture in it.
So the admin asks what space is available before a teacher is matched. A covered yard, a garage, or part of a terrace that can be swept are the most common, and for paras stone the place needs to be open enough that dust does not gather. A table or mount that does not shift matters more than the size of the space.
The Edupola office is not used as a lesson venue. Where no tutor is available near you, sessions run online. Part of this programme transfers online and part does not, as the next section explains. Ask the admin about teacher coverage at your location in Bali.
Online Sessions
The Limit of Online Sculpture Sessions Is the Hand
Online sessions for sculpture tutoring in Bali run over Zoom or Google Meet, and the limit here is firm. What cannot move to a screen is correcting the grip on a chisel and the weight of a strike, because both are judged by the feel in the hand and from an angle only visible beside the learner.
What does work online is discussing the design of a piece, marking the lines, checking a form from photographs, and discussing motifs together with where they belong. The learner photographs their work from four sides and sends the files, and the teacher marks the parts to work on the image itself.
So the arrangement combines both: sharpening, holding the chisel, and the first cuts are taken in person, then sessions that review progress and design the next part can be taken online. Learners who have never held a chisel start in person. Fees for online sessions match face-to-face sessions.
Frequently Asked
Questions From Sculpture Learners in Bali
What does private sculpture tutoring in Bali cost?
Fees start from IDR 153,800 for a 60-minute session, the shortest option. Sessions of 90 and 120 minutes are available with the fee following the length. The final fee follows session length and the number of sessions per month, between 4 and 28. The admin sends the breakdown in writing before the first payment. A few chisels, a mallet, a sharpening stone, and scrap material are prepared by the learner and not included in the fee.
I have never carved. Will I waste the material?
Not the work material, because the first stage happens entirely on scrap. Sharpening, holding the chisel, and straight and curved cuts are all practised on offcuts, and the piece is only started once those cuts are under control. Scrap stays in use afterwards too, since every new technique is tried there first.
Why does the chisel have to be sharpened every session?
Because a blunt chisel tears the grain instead of cutting it, and a tear cannot be undone. The edge dulls within a session of use, so sharpening at the start costs the least of any safeguard in this craft. Learners who skip it usually blame their hands for a rough surface the tool caused.
Should I choose wood or stone first?
Softwood for almost everyone, because it cuts easily and forgives small errors, so attention can go to the shape instead of the force. Paras stone suits learners heading for building ornament, and it brings a dust discipline from the first session. Hard stone is slow and demands patience, so it is rarely a first choice.
Can traditional motifs be used freely?
The forms carry rules, and where a motif belongs is part of those rules. Some belong on temple buildings, some on houses, and some on everyday objects, and the proportions and arrangement were handed down instead of invented. For work going onto a temple building or into a ceremony, learners are directed to speak with the people responsible in that community first.
How is a sculpture teacher matched to a learner?
The schedule is settled first during the consultation, covering days, times, session length, and sessions per month. The Edupola team then looks for a tutor whose travel to your location in Bali stays short, and that search runs 1 to 5 working days. The material decides most of it: wood carving, paras stone, and relief panels are matched to teachers who work them. If the first 2 weeks feel like a poor fit, a replacement is arranged at no extra cost.
Related Programmes
Other Programmes Learners Add in Bali
Learners taking sculpture tutoring in Bali often add one other programme, usually once a first piece is finished.
-

Drawing Tutoring in Bali
Taken by learners who want to design a form on paper before any material is cut, since on paper a mistake can still be erased.
-

Painting Tutoring in Bali
A choice for learners whose work is coloured at the finishing stage.
-

Photography Tutoring in Bali
Often taken by learners selling their work who need to photograph a three-dimensional form in light that shows its depth.
Get Started
Start Sculpture Lessons From a Piece of Scrap
Name the material you want to work and what the piece is for. A tutor in Bali is matched within 1 to 5 working days.